
There’s never a bad time to tape your baseball bat. Maybe the old tape it arrived with is wearing out or falling off, maybe you want to freshen up your bat’s look, or maybe your bat’s prone to slipping out of your hands during your swing, and you need a sturdier, stickier grip to ensure the safety—and sanity—of those around you. But regardless of your specific reason, you’re here because your bat needs a new layer of tape (or two)—and we’re here to take you through the entire taping process, from start to finish. Without further ado, let’s get into it!
Which Tape to Use
Your first bit of bat taping business is deciding which tape you want to use. For this, there are four main tapes to choose from: athletic tape, grip tape, electrical tape, and tennis tape. I’ll explain each one so you can decide which suits you best.
Athletic Tape:
Athletic tape (aka kinesiology tape) is a popular option for taping baseball bats in collegiate and professional baseball. It’s also the thinnest (and cheapest) bat tape material out of the four. The biggest benefit to a thinner bat tape as opposed to a thicker one is that the thinner option will allow you to swing your bat through the strike zone quicker, which can help facilitate solid, powerful contact with the ball.
Another cool reason to go with athletic tape is that there are endless color options to choose from. And due to its thinness, you’ll easily be able to mix and match different colors on your bat’s handle to create an eye-catching and aesthetically pleasing tape pattern (and, considering how cheap athletic tape is, buying multiple colors won’t break the bank).
The one downside to athletic tape is that it isn’t produced specifically for bettering your grip on the bat, and therefore won’t strengthen your grip as well as the others. So if you’re one of those who’s prone to letting go of your bat while swinging, you might want to go with another tape option. Or you can buy pine tar, and put some of that on top of your athletic tape. That’s what the professionals do.
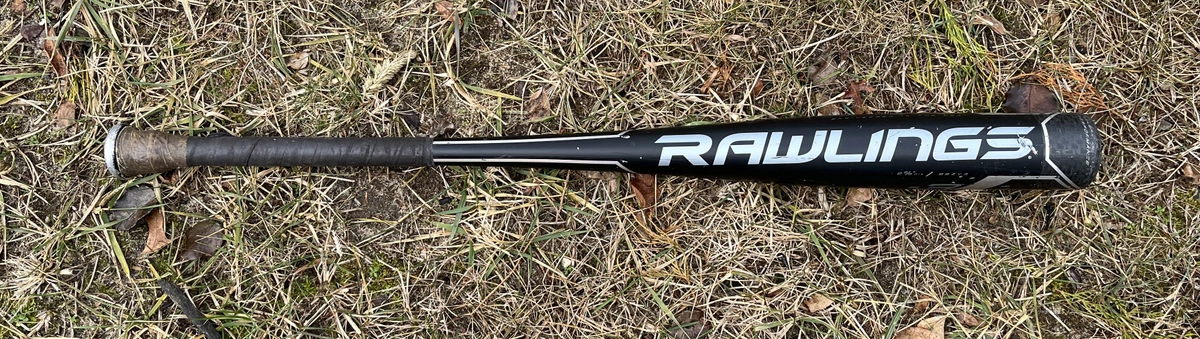
Example of a bat with athletic tape
Grip Tape:
Grip tape is another popular option for baseball bats, and for good reason. Companies like Lizard Skin, Vulcan, and Easton have created sport-specific grips made out of polymer, a thick material that’s certain to increase your bat’s gripping ability. Despite being a good bit more expensive than athletic tape (a roll of Lizard Skin bat grip costs anywhere between $10-$16 on Amazon, compared to $2-3 for athletic tape), baseball-specific grip tape is a favorite among youth baseball players. This is in large part due to Lizard Skin having three thickness options, plus offering nearly 40 bright, colorful, and eye-catching grip patterns that players can choose from. This company also offers the option to customize your own bat grip, along with having team specific skins for all 30 MLB teams. It’s easy to see why Lizard Grip is a favorite for younger players.
But baseball-specific grip tape has functional benefits, as well; namely, it provides incredible grip traction, making it much more difficult to accidentally let go of the bat while swinging. The thicker grip tape options also offer sting and vibration reduction upon contact, which can be a godsend for hitters who hate how their hands feel after getting jammed.
Considering all of these different benefits, baseball-specific grip tape is a fantastic taping option.
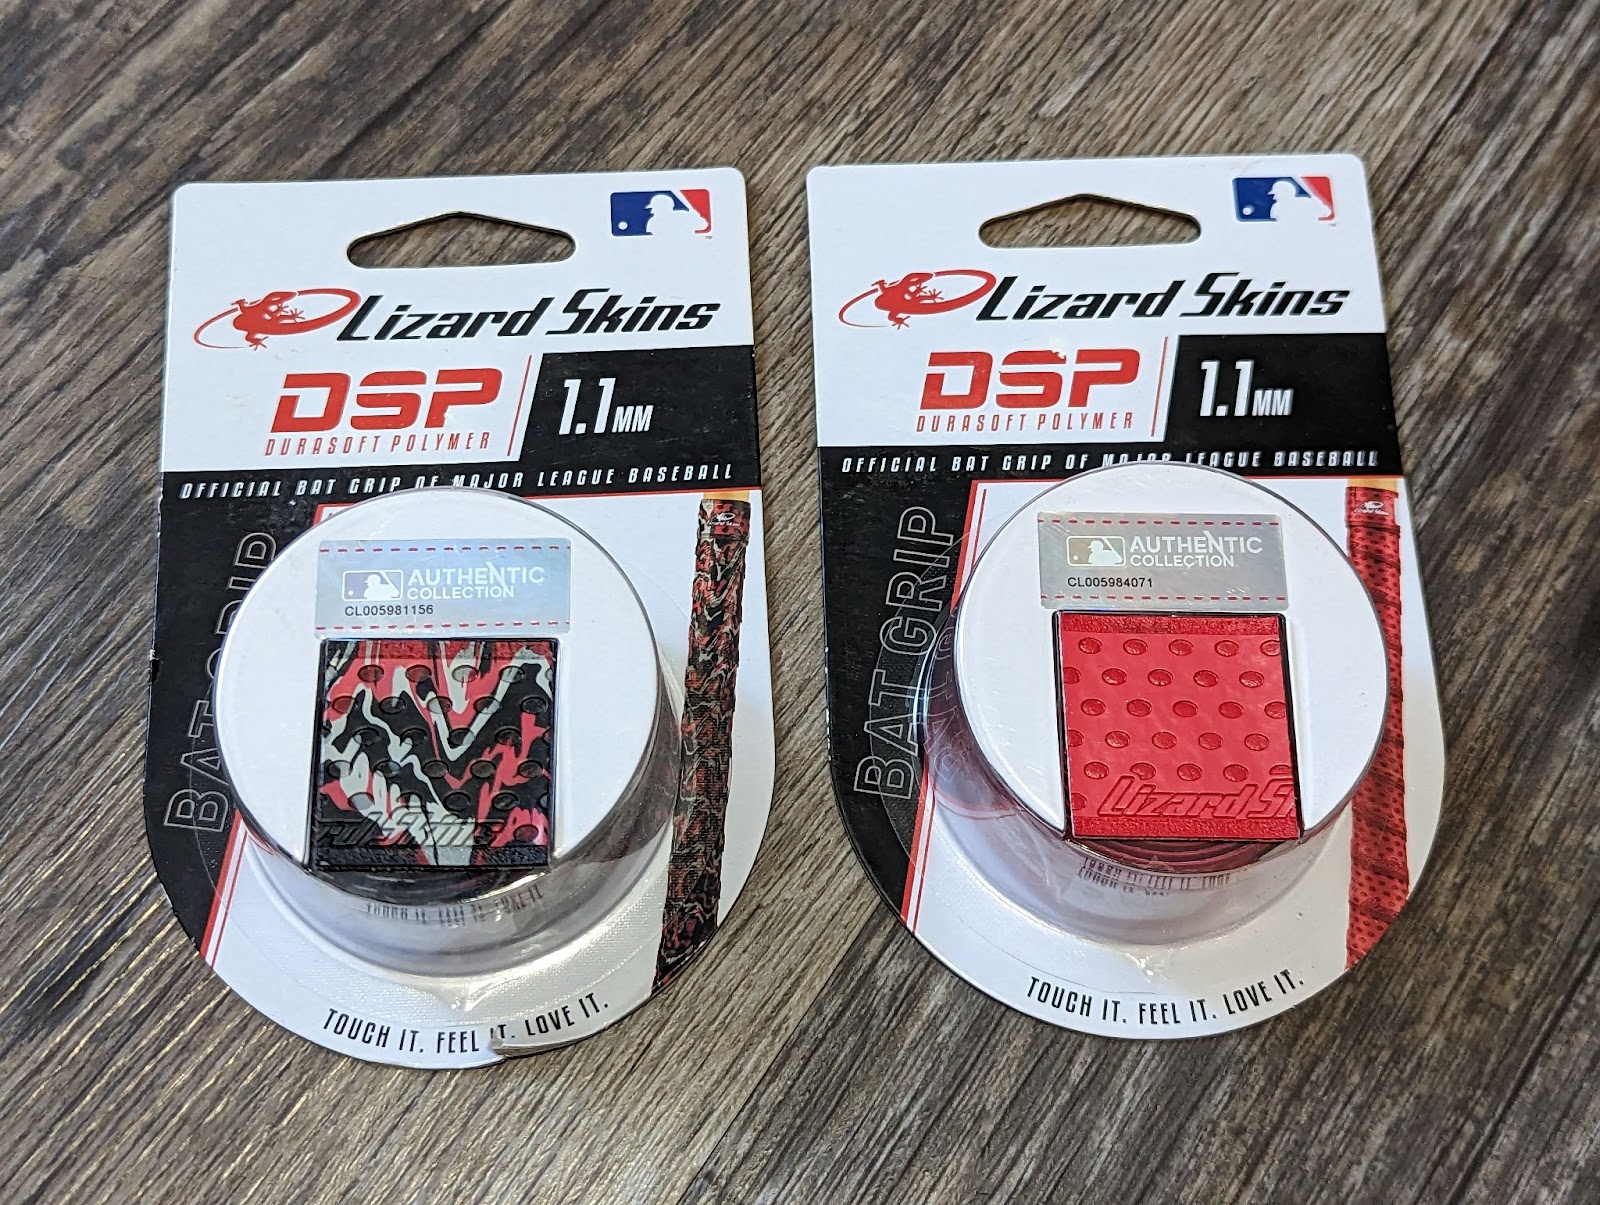
Lizard Skins grip tape
Electrical Tape:
While it might sound strange that you can put electrical tape on your bat, you’ll be surprised to hear that it’s actually a solid option. In fact, electrical tape should be used when taping your bat—but perhaps not for the entire tape job (more on that later). Yet, if you’d like to adorn your whole handle with electrical tape, don’t let me stop you! It’s the stickiest option, is thin enough to feel comfortable, you likely have it laying around your house somewhere, and black tape looks good on every bat.
Of course, since electrical tape isn’t made specifically for this, it won’t offer the sting and vibration reduction that bat-specific grip tape does. I also read somewhere that some youth leagues won’t allow shiny electric tape on your bat, so if you’re set on this option then check with your local league before taping.
Tennis Tape:
The last tape option you have is tennis tape. And, yes, while this tape is primarily for tennis rackets, it certainly works for baseball bats, too. It offers the same thickness and rubber feel as baseball-specific grip tape, but likely won’t have the same sting and vibration reduction that a grip made specifically for a baseball bat would. But if you have a tennis player under your roof and want to steal some of their tennis grip for your bat, feel free to do so and see how you like it. Just don’t tell them it was me who said to steal it.
Taping Your Bat
1. Materials
Now that you’re informed about the different tape options available to you, let’s discuss the materials you’ll need when preparing to tape your bat. There isn’t much to this, so let’s dive right in. The four things you’ll need is:
-
Your bat
-
Your chosen tape (find that on SidelineSwap)
-
Electrical tape (unless you’re using athletic tape)
-
Scissors
The first two items on that list are self-explanatory, but the second two might not be. The reason why you’ll need electric tape is because a thin strip of electrical tape is great to include on top of your tape job’s final revolution to ensure that the grip remains attached to your bat’s handle. I wrote, ‘(unless you’re using athletic tape)’ because athletic tape is sticky enough on its inside to not need the extra stickiness that electric tape provides.
As for the scissors, they’re not absolutely necessary, but it will be much easier (and less frustrating) to use them for cutting your tape rather than ripping it with your hands. Anybody who has ever tried to rip athletic tape will highly recommend grabbing scissors before starting.
-
Taping tutorial
Okay, now that you’ve got your chosen tape and assembled the necessary materials, the real fun can begin. Here’s a step-by-step tutorial on the best way to tape your bat:
-
Remove your old bat grip (if there was any on your bat). This will allow you to start with a clean slate. This mainly applies to aluminum bats that come with their own grip. Make sure to remove this so your new, preferred grip isn’t too thick.
-
Once the old grip is removed, unravel your new bat tape and locate the pre-cut end. It should be the first part of the tape that’s unraveled.
-
Make sure your bat is in a secure position before starting to tape. Placing it knob up, between your legs, is a good option if you’re sitting down (you should be sitting down).
-
While applying pressure to the tape, begin wrapping it around the very bottom of the handle, directly under the knob. You might want to follow the visible patterns on your tape if there are any, to ensure the tape job continues to be even throughout.
-
Keep taping upwards (that is, upwards on the bat, which is actually downwards if you’re sitting like I said in step 3.)
-
Continue to wrap your bat for about 8 to 12 inches, depending on your preference. But be sure to only tape your bat’s handle, as tape isn’t allowed on the barrel.
-
When you’re satisfied with the tape length, cut the end of the tape and add one revolution electrical tape on top of that so it stays attached.
-
If you’re satisfied with the grip’s thickness, great! You’re all done.
-
If you’d like your grip to be thicker, feel free to repeat the process with more tape until you reach your desired thickness.
That’s all there is to it! If you messed up somewhere or aren’t completely satisfied with your tape job, feel free to cut your losses and restart at step 1. It will only take you a few minutes, and you want to be completely satisfied with your new grip.
-
Testing the tape out
Now that you’ve got a sweet new tape job, the logical next step is to go test it out. And while you might not be able to go straight to practice or a batting cage, all you really need to do is take a few swings with your new grip to know whether you like it. I’m sure you know how to swing your bat, so I don’t describe how to do so. But when you’re testing the tape out, be sure to take note of a few things:
-
Is the bat feeling comfortable in my hands?
-
Is the grip too thick? Would I prefer it to be thinner?
-
Does my grip feel secure? Or does it feel like it’s going to fly out of my hands?
(If it feels like it’s going to fly out of your hands, make sure that you’re away from any windows or cars while conducting your practice swings.)
-
How do I look? Does my bat look beast?
If you’re still satisfied after running through all of these questions, then you should be all set. Congrats on the cool new tape job!
Conclusion
Now that your fresh tape job is finished and feeling fly, you’re ready to step into the batter’s box with swag and swing for the fences. Just be sure to hold on to that bat while you’re doing so. Nobody wants to dodge flying bat barrels when watching a baseball game.
About the Author
Grant Young is a Sports Content Writer for SidelineSwap. He graduated from the University of San Francisco in 2022 with a Master’s degree in creative writing, and also played on the University of San Francisco’s Division 1 baseball team for five years. You can find his published creative writing at his website, https://grant-young.