Caring for a Baseball Glove
Caring for Your Glove
There are many things that people do to prolong the lifespan of their baseball gloves. One of the first steps in that process would be to clean your glove once a year to protect the leather from breaking down. Cleaning a glove is a very simple process, and generally takes about 20-30 minutes to do.
The first thing that you want to do is to take a wet rag to your glove, wiping down every inch of leather that you possibly can. Getting dirt and chalk off of the glove before storing it away for the winter is very important for both the leather and the laces. Following the cleaning process is to condition or oil your glove. This next step is optional, and some people opt to not do it, but I feel that it is important to do every once in a great while.
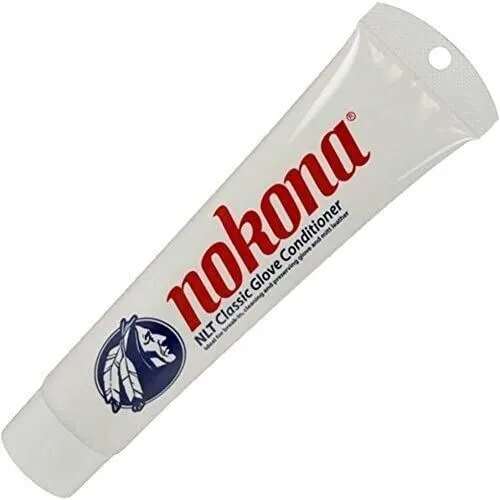
Between oiling and conditioning a glove, I feel that conditioning a glove is the better option out of the two. Oiling tends to make the glove very heavy and darkens the glove color. Conditioning, on the other hand, keeps the glove light, and keeps the glove’s color the same. My personal favorite glove conditioner is Nakona’s glove conditioner, but any kind will work. To condition a glove post-cleaning, take no more than a pea sized amount of conditioner on your finger and rub it into the entire glove, laces and all. Massage the conditioner into the leather thoroughly, removing the excess with a towel afterwards.
After the conditioning process is completed and the glove has had time to fully dry out (which should take no longer than a day or so), I like to store my gloves in a controlled environment, like my bedroom, for the winter when they are not in use. I keep them outside of my baseball bag, face-down to avoid collapsing. The main variables that affect the leather on gloves are humidity, sunlight and temperature. When storing your glove away, avoid cold, damp places like garages or sheds. In addition to this, avoid direct sunlight coming through windows. Many people like to put their gloves on windowsills for display, not realizing that the sun deteriorates leather with constant exposure. Storing your glove somewhere dry, at room temperature and away from sunlight is the best way to go.
Many players forget the importance of protecting their gloves and caring for them while they're out on the field. Care for a glove during play is very similar to caring for them in the off-season. When in the field (as hard as this may be!), try to avoid spitting in the glove’s pocket as best you can. In addition to this, after each pitch, tighten any loose laces and continue to reinforce the glove’s form by pulling at or flaring the thumb or fingers. This helps the glove keep the shape that you desire. In between innings, just like during the off-season, keep the glove out of direct sunlight if possible, and set it on its side. Keep it in the shadows of the dugout and face-down.
Tightening Your Glove
After a glove has been around for a long time, re-lacing it or even just tightening the laces can give it an extra few years of life. Tightening a glove is very simple, and is generally done in the finger stalls of a glove. There are 3 steps in this process.
-
Untie the knot keeping the lace in the glove where you wish to tighten. (If you are doing the fingers, this would be the knot on the top of the pinkie finger)
-
Pull the lace through the fingers, starting at the middle finger all the way to the pinkie, pulling any excess lace through the pinkie hole where the knot was.
-
Retie the knot as close to the leather as possible, so as to not let the glove loosen up again.
Re-lacing Your Glove
Re-lacing a glove is a little harder to do, but is still easy enough to do on your own. You will need a glove needle and new lace for this process. Re-lacing a glove takes time and patience, as there are more steps involved in this process. “YouGoPro” has a very helpful video on his Youtube channel that does a great job going-in depth on this process, but for now here are 7 basic steps to follow.
-
Take out the lace that you will be replacing (for this example we will stick with the fingers).
-
Condition new lace that is being put in, along with the lace holes. (This acts as a lubricant).
-
Tie lace to the glove needle’s hole.
-
Push the needle through the holes in the opposite direction that the lace came out. The last hole that the lace comes out of in the fingers is the pinkie, so start with the lace going in that hole.
-
Continue pushing the needle through the holes of the fingers in the typical “X” pattern like the lace was before.
-
Once all the holes are filled with lace, and you are satisfied with the tightness of the new lace, re-tie the lace in a small knot just as you would when tightening a glove.
-
Play catch with the glove afterwards for a bit, as the glove will need to be slightly broken in again and re-shaped. A few catch sessions later and the glove should be game ready again!
About the Author
Kole is a college baseball player and lifelong glove enthusiast based in Minnesota.