1. Hockey
  2. Sticks

Hockey Sticks

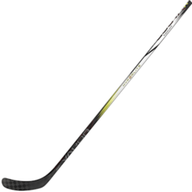
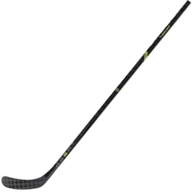
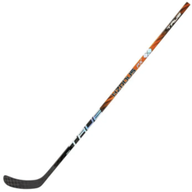
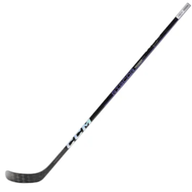
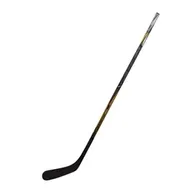
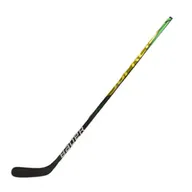
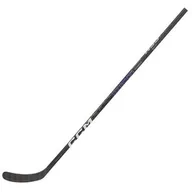
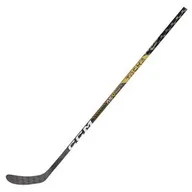
Pro Stock Sticks

See more
4,958 Results
Shop by Category

Flex refers to the stiffness of the stick – technically, the "flex number" is the amount of pressure required to bend the stick one inch.

In determining what flex is best for you, a good rule of thumb is to divide your body weight (in pounds) by 2. Example: If you weigh 160 pounds, a good starting point would be an 80 flex stick.

But it's also important to bake in height, as shown here:

Age Group Height Weight (lbs) Recommended Flex
Youth (3-5) 3'0"-3'10" 30-65 35
Youth (6-8) 3'10"-4'8" 50-80 40/45
Junior (7-13) 4'4"-5'1" 70-110 50/55
Intermediate (11-14) 4'11"-5'4" 95-125 60
Intermediate (12-14) 5'2"-5'8" 100-140 65/70
Senior (14+) 5'5"-5'10" 125-175 75/80
Senior (14+) 5'7"-6'1" 150-200 85/90/95
Senior (14+) 5'10"-6'4" 180-235 100/105
Senior (14+) 6'1"+ 210+ 110/115

TLDR? Watch the video here instead: 


A hockey stick pattern refers to the specific shape and curve of the blade. Different patterns are designed to optimize performance for various playing styles and positions.

Finding the right pattern for you is about fit – but there are a few important things to keep in mind.

The heel, mid, and toe refer to where in the blade most of the "curve" lies. Players focused on generating high-velocity slapshots (like defensemen) might prefer a heel; those whose games center on handling and control may prefer toe, and most will find "mid" curves to their liking. Many patterns fall between two of the three.

Pattern: Best for: Examples: Descriptions:
Toe Toe drags, quick releases Bauer P28 (mid-toe), CCM P28 (mid-toe), Warrior W28 (mid-toe), True TC4 (mid-toe) Most of the curve is in the toe of the blade. 
Mid All-around play, backhand shots Bauer P29, CCM P29, Warrior P03, Warrior P88, Bauer P88, CCM P88 Between toe and heel, most of the curve is in the 'middle' of the blade.
Heel Backhand shots, handling in tight spaces Bauer PM9 (mid-heel), CCM P14 (mid-heel), Warrior W01, True MC2 Most of the curve is in the base of the blade. 
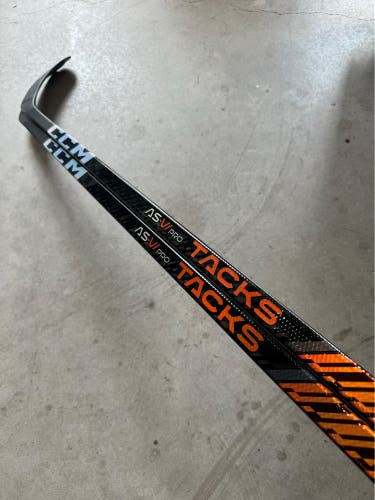
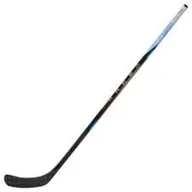
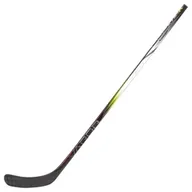
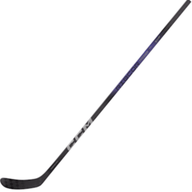
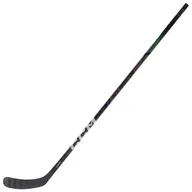
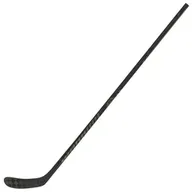
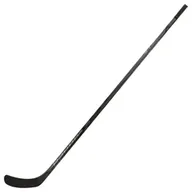
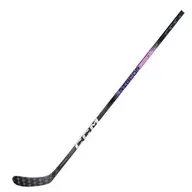
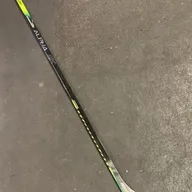
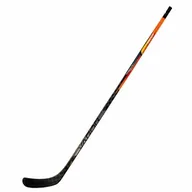
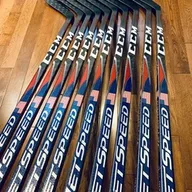
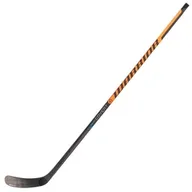
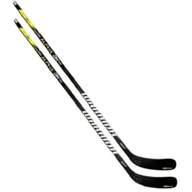
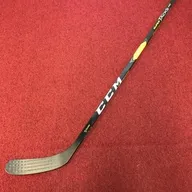
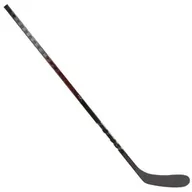
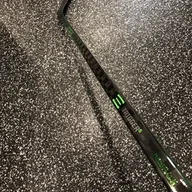
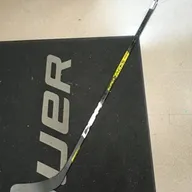
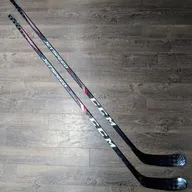
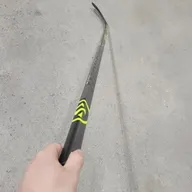
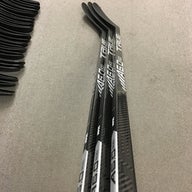
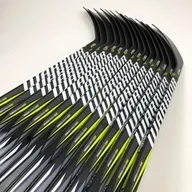
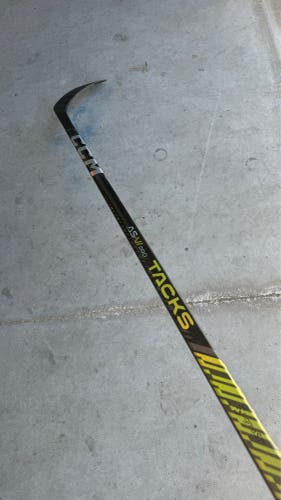
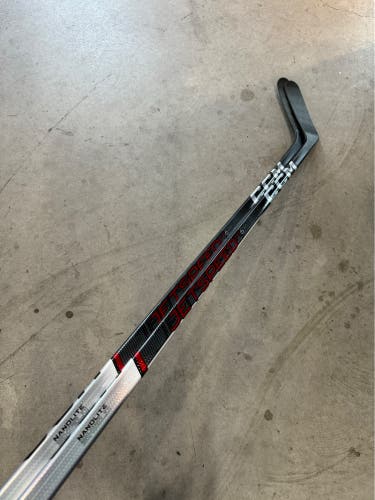
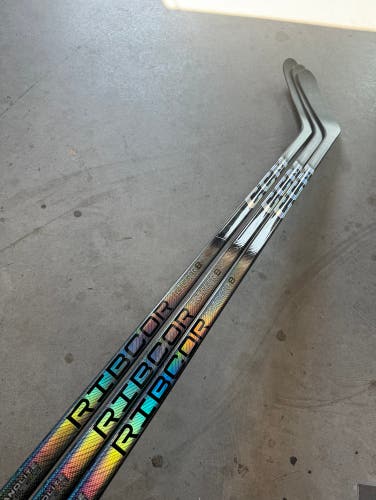
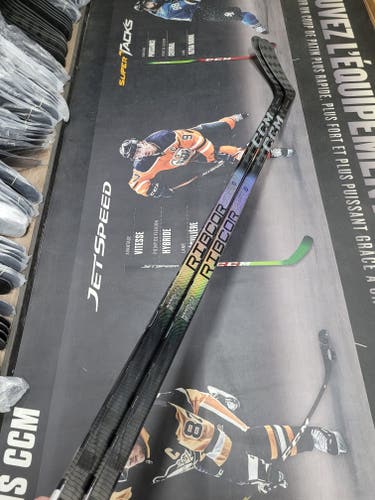
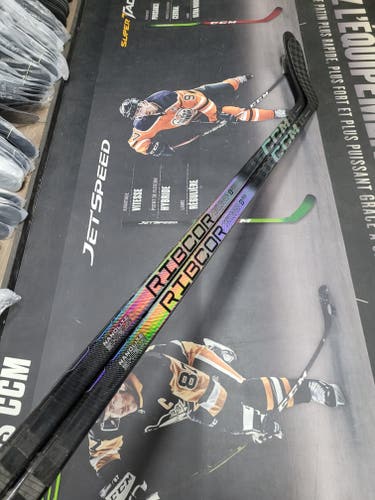
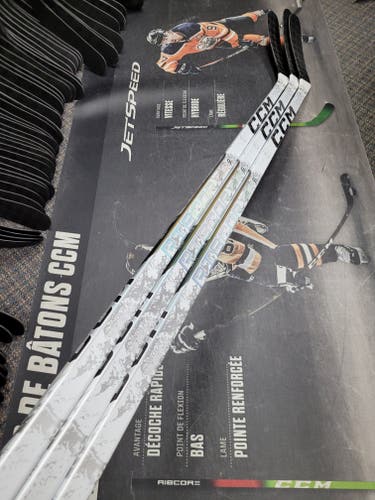
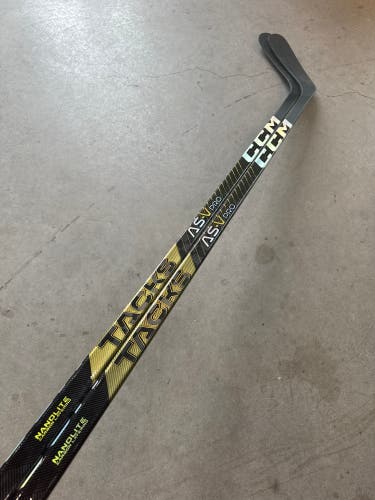
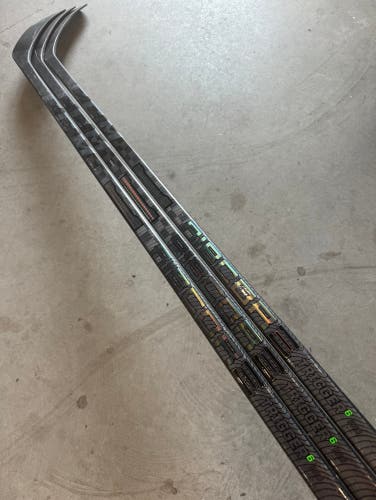
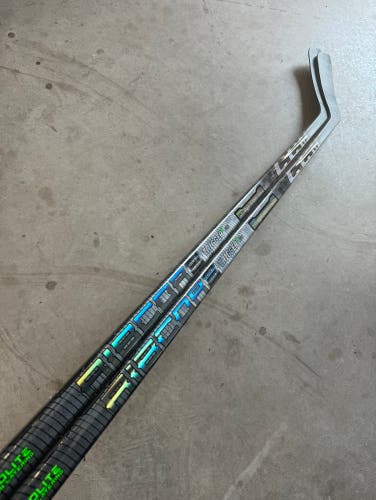
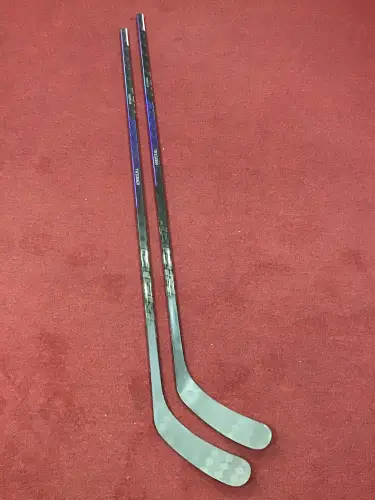
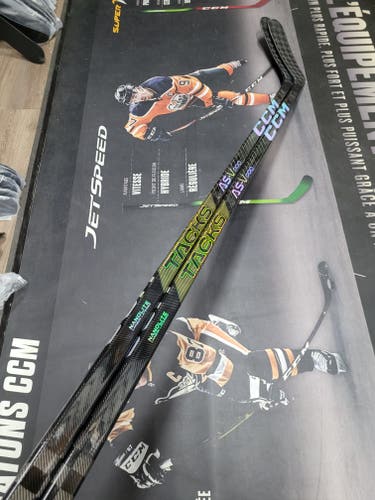
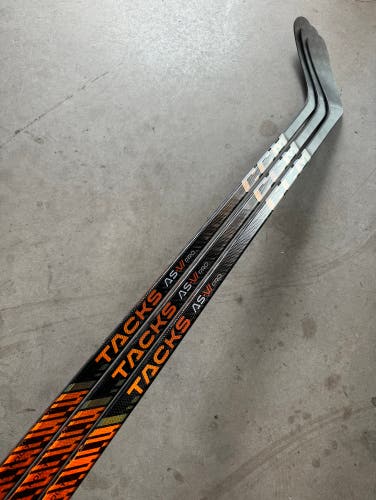
Pro stock sticks are custom-made sticks created by manufacturers for high-level hockey players - anywhere from the NHL down to major junior. These customizations can apply to features such as flex profiles, blade patterns, shaft dimensions, paint jobs, and almost anything else you can think of.

Generally, pro stock sticks are made with slightly different (and higher quality) materials than their retail counterparts, often leading to better durability and overall performance. Players and resellers alike can get a hold of these sticks - new and used - from pro, college, and junior teams, and many of them end up for sale on SidelineSwap.

Pro stock sticks will sometimes be “dressed” to look like different models, so always check descriptions and ask sellers to make sure you know what you’re buying.

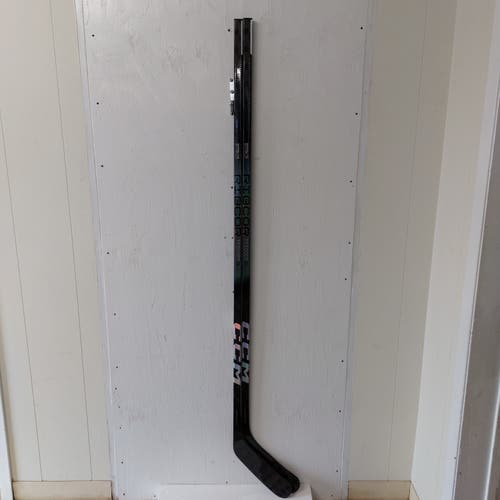
Stick length is measured by placing the stick flat against a wall from the floor to the top of the stick.  

To determine the best length stick for you, follow these steps: 

Stand without skates:

  • Place the toe of the stick on the ground between your feet.
  • The top of the stick should reach your nose.

Stand with skates:

  • The top of the stick should reach your chin.

This measurement is just a general guideline, and you may prefer a slightly longer or shorter stick based on your playing style and personal preference.

Taping the blade protects it and improves puck control. You will need cloth hockey tape (black or white, typically 1-inch wide)

  • Start at the blade's toe (front edge), leaving about ½ inch of overhang if you want to cover the edge.
  • If you don’t want to cover the toe, start at the flat surface of the blade.
  • Wrap the tape around the blade in overlapping passes. Each wrap should cover about half the width of the previous one. Keep the tape smooth and wrinkle-free.
  • Continue wrapping until you reach the blade's heel, then tear or cut the tape neatly.
  • If you've wrapped over the toe, use scissors to cut along the blade's edge for a clean look.
  • Rub the taped blade with a hockey puck or your hand to smooth the tape and ensure it sticks well.

Taping the handle provides better control and a personalized grip.

  • Begin by wrapping the tape around the very top of the stick to create a knob. This helps prevent the stick from slipping out of your hand.
  • Wrap it multiple times until you achieve your desired thickness.
  • After creating the knob, continue wrapping the tape down the shaft in a spiral pattern.
  • Adjust the spacing based on your grip preference. Some players like wider gaps, while others prefer tighter wraps.
  • Optional additions:
    • Ribbed Grip: Use a shoelace or extra tape to create ridges along the handle before wrapping over them for added texture.
    • Wax: Apply hockey stick wax on the tape to make it tackier and help with moisture resistance.

Tips:

  • Color Choice: Use black tape for better puck concealment or white tape to reduce stick marks visibility.
  • Change Tape Regularly: Replace the tape when it’s frayed, dirty, or no longer sticky.
  • Avoid Over-Taping: Too much tape adds unnecessary weight to your stick.

Watch how he does it 👇


Cheaper sticks, which typically start around $50, are significantly heavier, making them less maneuverable and harder to handle. As you move up in price, sticks become lighter, offering improved responsiveness and control.

Higher-end sticks are also designed with advanced materials and technology, which not only reduce weight but also enhance performance and precision. However, these premium models tend to be slightly less durable due to their lighter construction. Major brands like CCM often offer multiple models of the same stick at different price points, each tailored to balance weight, durability, and cost.